Installing hardwood floors can feel intimidating, but with the right preparation, tools, and debris plan, a first-time DIYer can achieve a durable, beautiful result. This guide walks you from planning and subfloor prep all the way through finishing touches, with practical tips tailored to real-world homes.
Step 1: Understand Your Hardwood and Installation Method
Different hardwood products are designed for different installation methods, so your first move is understanding what you’re working with.
- Solid vs. engineered: Solid hardwood is one piece of wood through the thickness; engineered hardwood has layers and often offers more stability over certain subfloors.
- Common installation methods: nail-down or staple-down (usually over wood subfloors), glue-down (often for engineered products), and floating/click-lock systems that lock together without fasteners.
- Manufacturer instructions: Always confirm which methods are approved for your specific flooring, including required underlayment and subfloor conditions.
Knowing this up front helps you choose the right tools and avoids costly mistakes like using the wrong fasteners or adhesive.
Step 2: Plan the Project Like a Pro
Good planning prevents mid-project panic, especially on your first hardwood install.
- Measure carefully: Multiply room length by width to get square footage, then add 10–15% for cuts, waste, and board selection.
- Check your schedule: Hardwood installation often spans several days: demolition and removal, subfloor prep, acclimation, and installation.
- Decide room sequence: If you’re doing multiple rooms or hallways, plan an order that keeps main walkways usable whenever possible.
- Book your dumpster: Schedule your E&J Disposal roll-off for the demolition and heavy cutting days so debris goes straight into the container.
A simple written timeline and checklist keeps you on track and reduces the chance you’ll rush through critical prep steps.
Step 3: Assemble Tools, Materials, and Safety Gear
Having everything on site before you start makes the project smoother and safer.
- Materials: hardwood planks, underlayment or vapor barrier (if required), fasteners or adhesive, transition strips, matching trim or quarter-round, and wood filler or putty.
- Tools: tape measure, chalk line, pry bar, hammer, drill/driver, circular or miter saw, jigsaw for vents and notches, flooring nailer or stapler (for nail/staple installs), trowel and notched spreader (for glue-down), or tapping block and mallet (for click-lock).
- Safety: safety glasses, dust mask or respirator, hearing protection, work gloves, and knee pads for long hours on the floor.
- Cleanup and waste: broom, shop vacuum, contractor bags, and your E&J Disposal dumpster staged where you can quickly toss bulky carpet, padding, and wood.
Even as a beginner, investing in or renting a flooring nailer, saws, and a shop vac can dramatically improve your results and workflow.
Step 4: Prep the Room and Remove Old Flooring
Thorough prep is the foundation of a long-lasting hardwood floor.
- Clear the room completely: Remove furniture, décor, and interior doors if they swing into the room.
- Remove baseboards and shoe molding: Pry gently so you can reuse them, or label pieces and set aside if replacing.
- Tear out old flooring:
- Carpet: Cut into manageable strips, roll with padding, and toss directly into your E&J Disposal container.
- Tile or glued flooring: Use a chisel, floor scraper, or demolition hammer as needed; broken pieces and thinset chunks go straight into the dumpster.
- Old hardwood or laminate: Pry boards carefully; rusty nails, splintered boards, and underlayment scraps all belong in the roll-off.
- Remove fasteners: Pull or pound down exposed nails, screws, and tack strips so the subfloor is clean and safe to walk on.
This stage creates a surprising amount of heavy, sharp debris—having the dumpster on site is a huge advantage for both safety and productivity.
Step 5: Inspect and Prepare the Subfloor
A flat, clean, structurally sound subfloor prevents squeaks, gaps, and premature wear.
- Structural check: Walk the floor and listen for squeaks or soft spots; secure loose areas with screws driven into joists.
- Flatness: Use a long straightedge to find high and low spots; plane or sand down humps and fill low areas with leveling compound approved for your subfloor.
- Cleanliness: Vacuum thoroughly to remove dust, staples, and small debris that can hold boards up or affect adhesive.
- Environmental conditions: Ensure HVAC is running so temperature and humidity are stable within the manufacturer’s recommended range.
Taking time here pays off for the lifetime of the floor, especially for beginners who want to avoid future squeaks and board movement.
Step 6: Acclimate Your Hardwood
Wood moves with changes in moisture and temperature, so acclimation reduces the risk of gaps or cupping later.
- Bring flooring inside: Store unopened boxes in the installation room (or nearby) for at least 3 days, unless your manufacturer specifies otherwise.
- Stack for airflow: Cross-stack or space boxes to allow air to circulate, and remove plastic wrap if the instructions recommend it.
- Maintain stable conditions: Keep the room within the suggested temperature and humidity range while the wood acclimates.
For most homeowners, simply running normal heating or cooling and respecting the acclimation period is enough to avoid major movement issues.
Step 7: Plan Layout and Expansion Gaps
Smart layout helps your new floor look balanced and professional.
- Direction: Most installers run boards parallel to the longest wall or the main light source; in hallways, run boards along the length of the hall.
- Expansion gap: Leave a consistent gap (often 3/8 to 1/2 inch) around all walls, door frames, and fixed objects to allow for seasonal movement.
- Board staggering: Aim to stagger end joints by at least 6 inches from row to row, avoiding H-patterns or clustered seams.
- Starting wall: Choose the straightest wall; snap a chalk line to guide your first row and compensate for any minor wall irregularities.
Dry-laying a few rows without fasteners is a helpful beginner technique to visualize how seams and board lengths will fall.
Step 8: Install the First Rows
The first few rows are the most critical; they establish straight lines and a solid base for the rest of the floor.
- Choose straight boards: Use your straightest pieces for the first and second rows along the chalk line.
- Place spacers: Insert spacers against the wall to hold the expansion gap while you work.
- Fasten or lock:
- Nail/staple: Face-nail or hand-nail the first row where a flooring nailer won’t fit, then switch to the nailer once you’re off the wall.
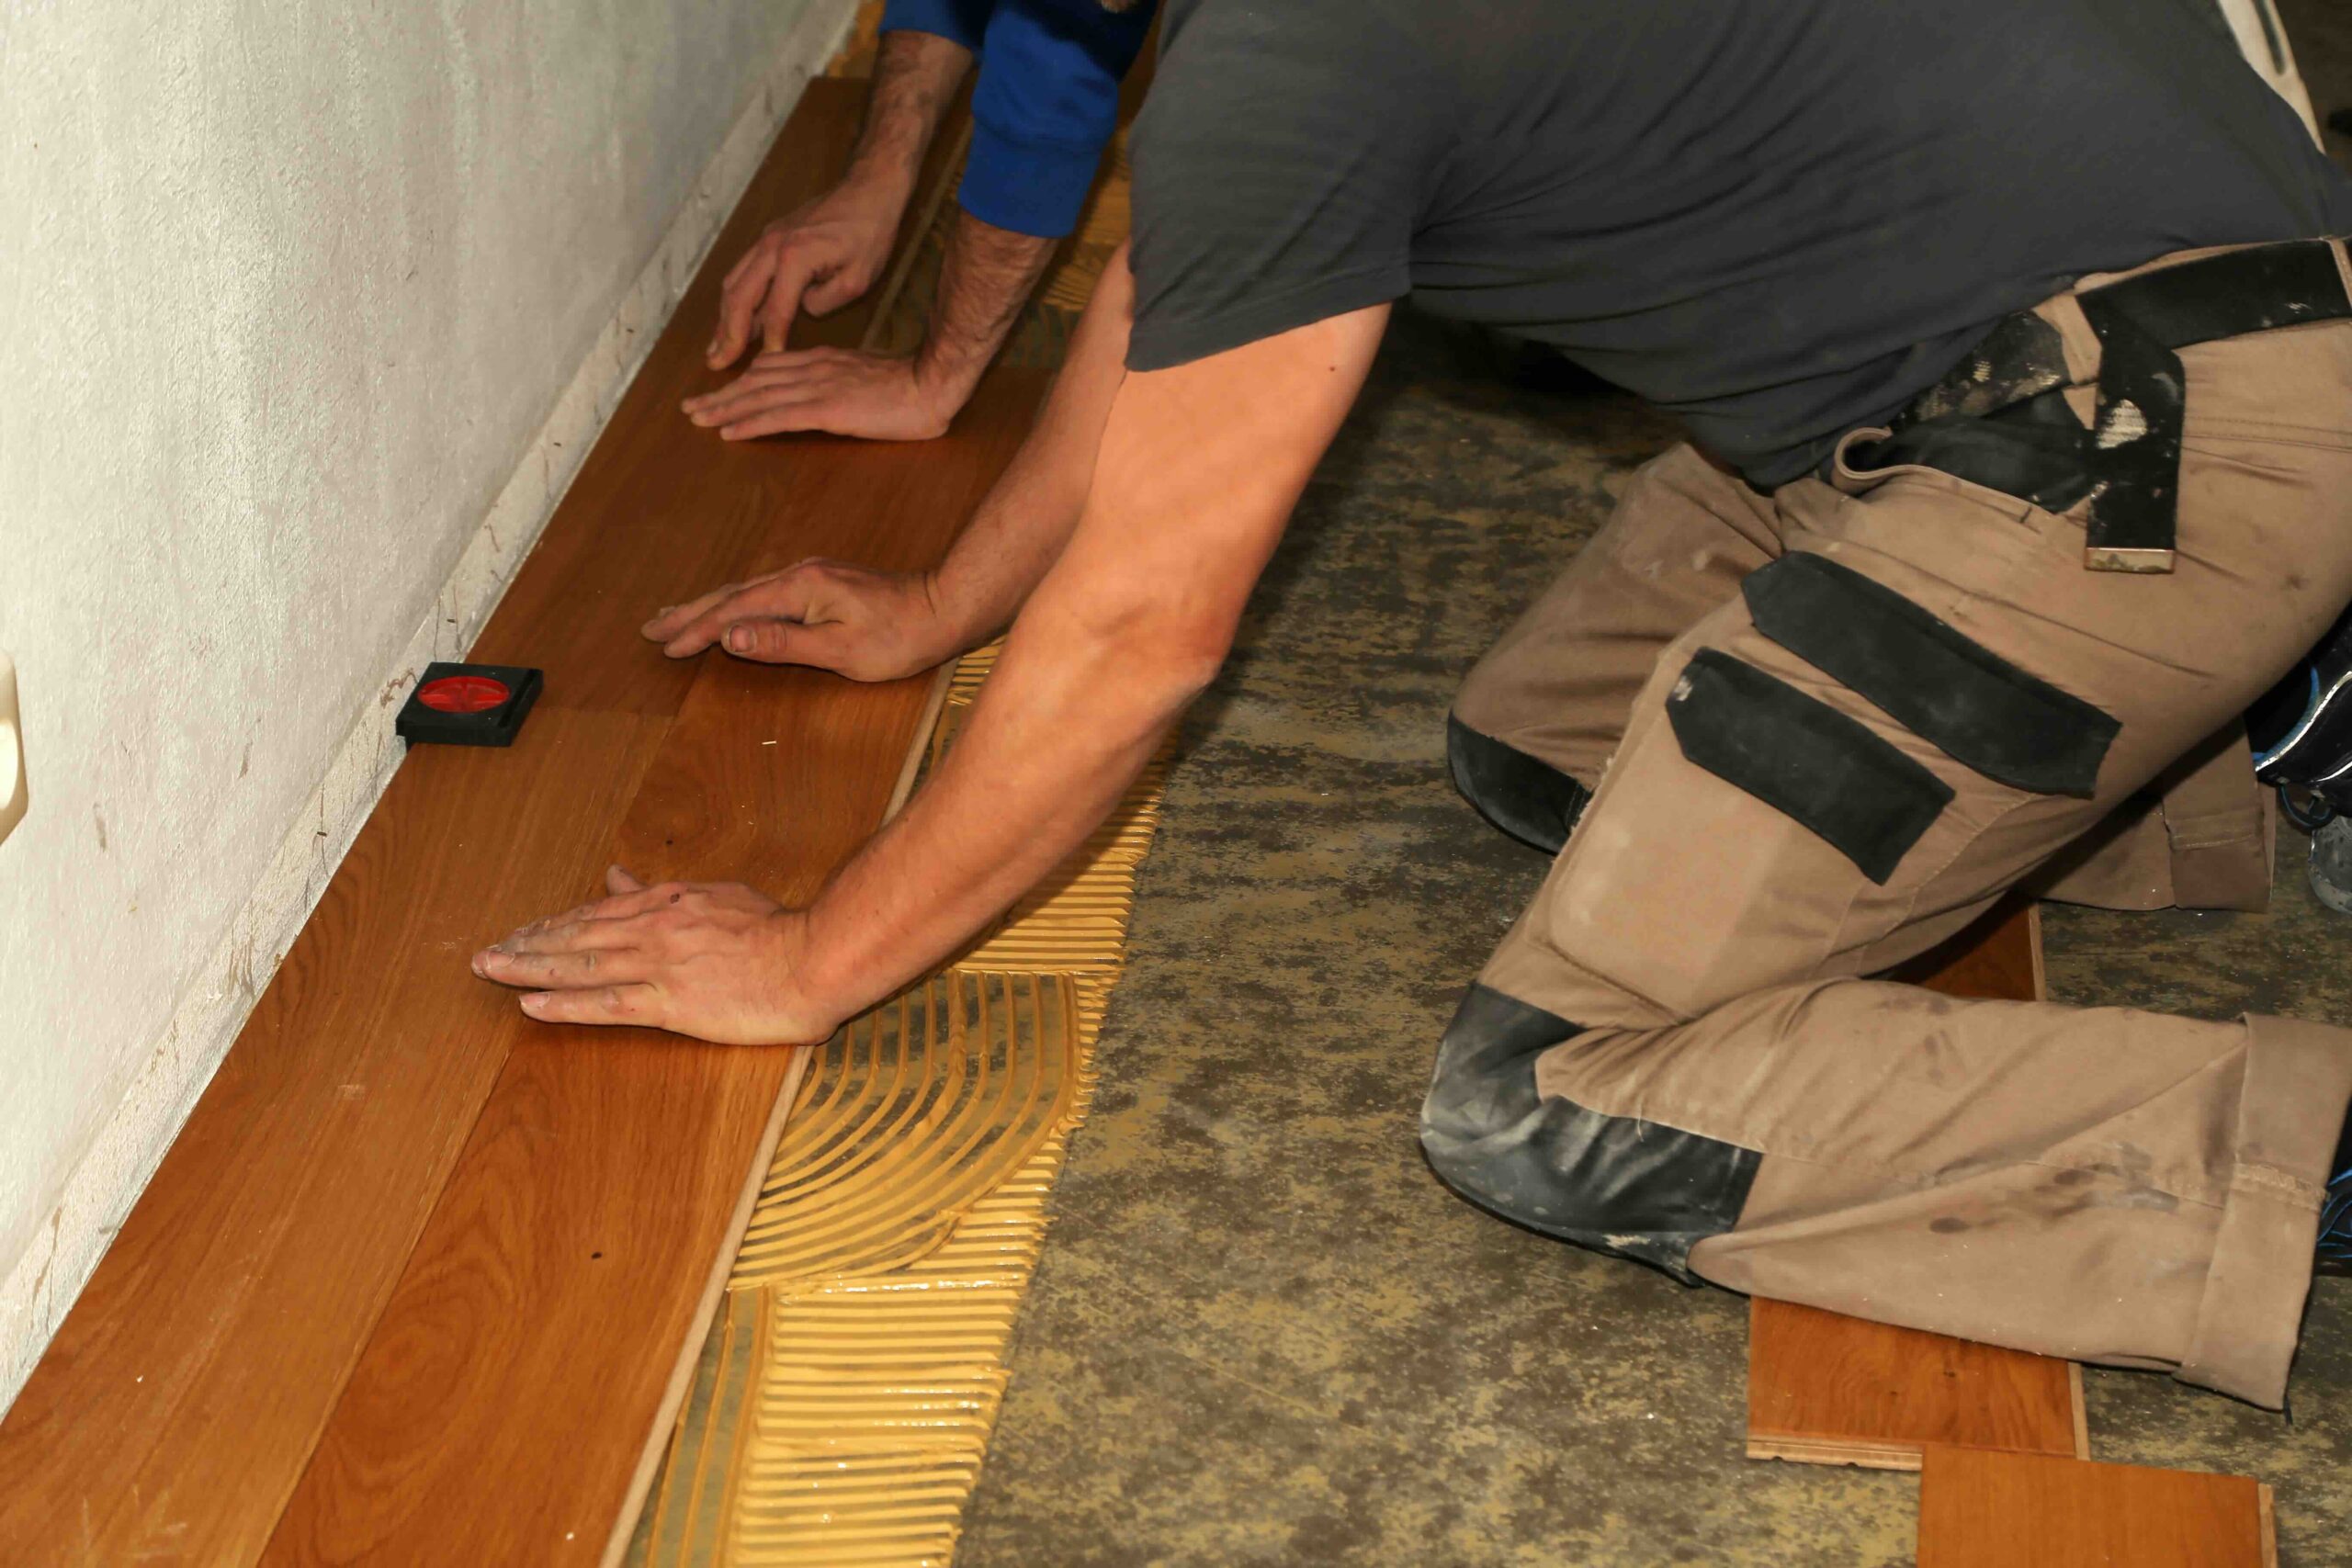
- Glue-down: Spread adhesive for just a few rows at a time, following trowel size and open time guidelines.
- Click-lock: Engage tongues into grooves at about a 30-degree angle and tap joints tight with a mallet and tapping block.
Take your time here—any error in these rows will echo across the entire room.
Step 9: Work Across the Room
Once the first rows are solid, you can find a rhythm installing the rest of the floor.
- Maintain staggering: Continue to vary board lengths and offset seams to create a strong, visually pleasing pattern.
- Cut to fit: Use a miter or circular saw for straight cuts and a jigsaw for vents or notches around door jambs and obstacles.
- Keep joints tight: Tap boards together gently to close gaps, and wipe any adhesive squeeze-out immediately if you’re doing a glue-down install.
- Manage debris: Offcuts, broken pieces, and packaging go straight into your E&J Disposal dumpster to prevent piles from encroaching on your work area.
Working steadily and checking for straight rows every few courses will keep your floor aligned from wall to wall.
Step 10: Finish the Last Row, Transitions, and Trim
The final details turn your project from “DIY” to polished.
- Last row: Measure carefully from the wall to the last full row, subtracting the expansion gap, then rip boards to width as needed.
- Install transitions: Add threshold pieces or reducers where hardwood meets tile, carpet, or vinyl, following manufacturer instructions.
- Reinstall baseboards and shoe molding: Attach trim to the walls, not the floor, to preserve the expansion gap; caulk and touch up paint if needed.
- Final clean: Vacuum, then use a manufacturer-approved cleaner to remove dust and footprints.
At this point, your floor should feel solid underfoot, with tight joints, clean transitions, and crisp trim lines.
Why a Dumpster Rental from E&J Disposal Is Imperative for Installing Hardwood Floors
Hardwood floor projects create more waste than most first-time DIYers expect: old flooring, padding, tack strips, fasteners, underlayment, subfloor offcuts, trim, packaging, and even damaged boards. E&J Disposal’s roll-off dumpsters provide a central, driveway-friendly solution that keeps your home and jobsite under control from start to finish.
- Safety and cleanliness: Nails, staples, and splintered boards are a serious hazard; tossing them straight into the dumpster keeps hallways, driveways, and the work area much safer.
- Efficiency and fewer trips: Instead of loading your vehicle multiple times and driving to a landfill or transfer station, you simply fill the E&J Disposal container and let their team handle hauling and disposal.
- Right-size capacity: E&J Disposal offers multiple roll-off sizes, so whether you’re replacing floors in a single room or an entire level, you can match the dumpster to your project.
- Driveway protection and service: Their service emphasizes driveway protection, prompt delivery, and pickup across their Illinois service area, which means you can schedule containers around your demolition and installation days.
- Eco-conscious disposal: E&J Disposal uses state-licensed transfer stations that recycle a large portion of incoming materials, turning old wood, concrete, and shingles into reusable products instead of pure landfill waste.
For a smooth DIY experience, reserve your dumpster before you remove the first strip of carpet or cut the first board—treat it as essential as your flooring nailer or saw.
FAQs About Installing Hardwood Floors
How long does DIY installing hardwood floors take?
A 200 sq ft room takes 2-4 days for beginners: 1 day demo/prep, 1-2 days laying planks, 1 day trim/finish. Add 3 days acclimation. Larger areas or poor subfloors extend to a week.
What tools are needed for installing hardwood floors?
Essentials: tape measure, circular saw, flooring nailer/stapler, pry bar, mallet, tapping block, shop vac. Rent nailer/saws; buy safety gear like knee pads, respirator.
Do you need a dumpster for installing hardwood floors?
Yes—heavy demo waste (carpet, tile, nails, scraps) fills 5-10 cubic yards per room. E&J Disposal roll-offs keep sites safe, efficient; schedule for demo/install days.
How to prepare subfloor before installing hardwood floors?
Inspect for levelness (within 3/16 inch over 10 ft), secure squeaks with screws, vacuum debris, fill lows with compound. Stable humidity prevents future issues.
What is hardwood acclimation before installing?
Store boxes in install room 3-7 days for moisture equilibrium; stack with airflow. Prevents gaps/cupping—check manufacturer specs for temp/humidity range.
Solid vs engineered hardwood for DIY installing?
Solid: nailable, refinishable, over wood subfloors. Engineered: stable, glue/float options, moisture-tolerant for concrete. Match to your subfloor/method.
Final Tips for Installing Hardwood Floors For The First-Time
As a beginner, your biggest advantages are patience, preparation, and a clean, organized workspace. By following a step-by-step process, respecting acclimation and subfloor prep, and relying on E&J Disposal for efficient debris management, you can transform your space with hardwood floors that look great and perform for years.